Create asp.net Core MVC application (using Visual Studio 2019 & CLI)
We have two ways to create the asp.net core application.
- Create a dot net core application using Visual Studio
- Create a dot net core application using CLI (command line interface)
In this post we will learn both the ways to create the dot net core application.
Create a dot net core application using Visual Studio
Visual studio is the best editor and first choice of developers to work with dot net core application.
You need to follow the following steps to create a dot net core application using visual studio –
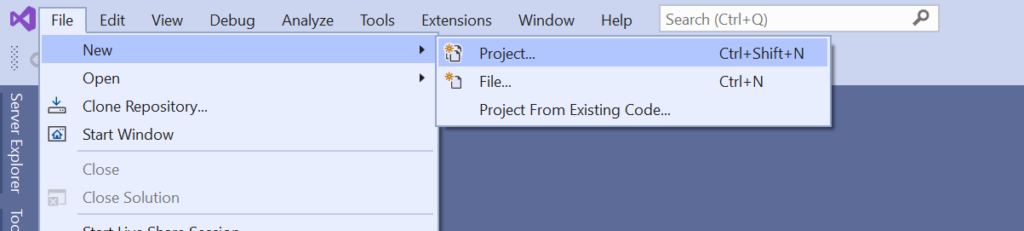
- Open visual studio
- Go to
File - New - Project(Or simple pressCtrl+Shift+Nfrom your keyboard)
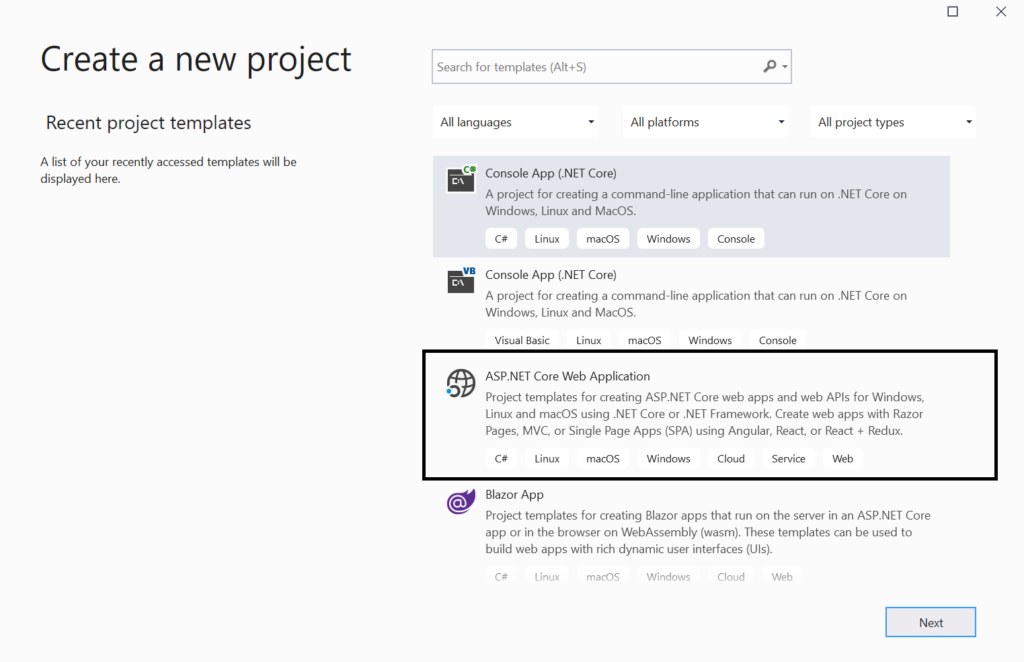
Now on the next window, you will see lots of project templates based on the installation of the visual studio. Since we need to create an asp.net core MVC application so let’s choose ASP.NET Core Web Application template and click on the Next button.
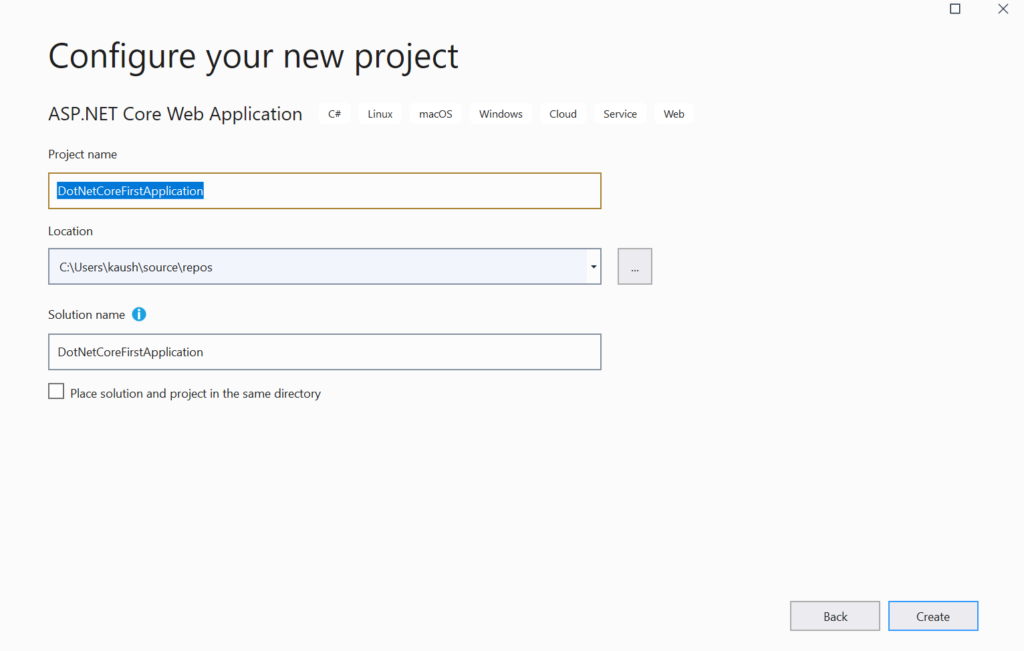
On the next window –
- Enter a project name
- Choose a location to store the project files on your system
- Enter a solution name
- And check the checkbox, if you want to place the solution and project in the same directory
- Click on the Create button.
The next step is to choose the web application template. The following application templates are available in the visual studio. You may have more or fewer templates based on your installation.
- Empty – (Includes only the library)
- API – (Template for the Web API)
- Web Application – (Web application using Razor pages)
- Web Application (Model-View-Controller) – (Web application using MVC structure)
- Angular
- React.js
- etc
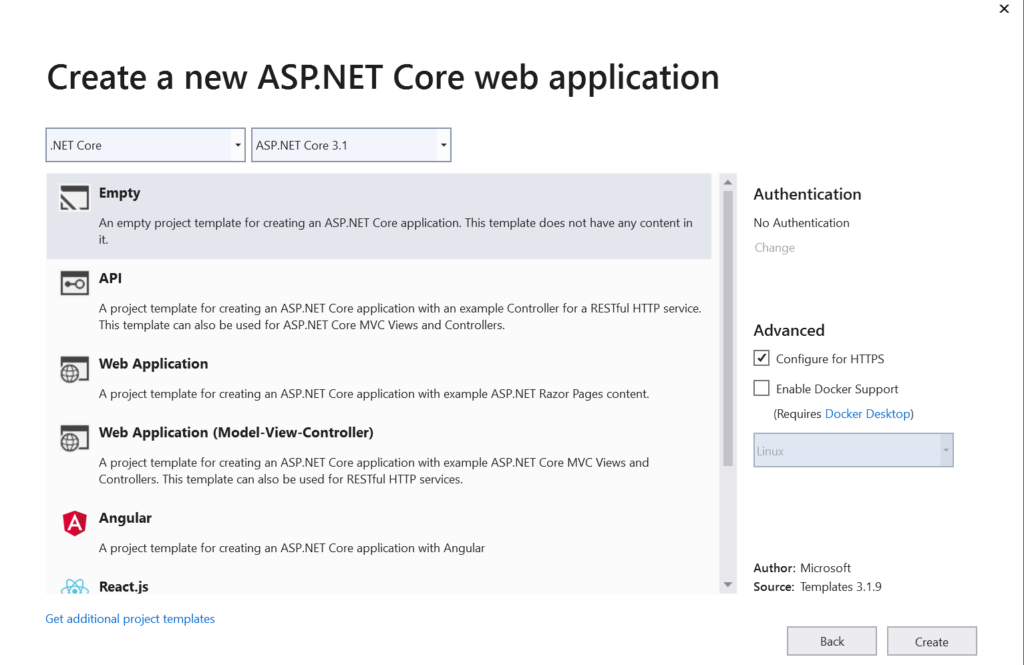
To work with the asp.net core MVC application, you need to choose the Web Application (Model-View-Controller) template.
Once you will select the Web Application (Model-View-Controller) template, some options will be enabled for you on the right side of the window.
- Authentication
- Configure for HTTPS
- Enable Docker Support
- Enable Razor runtime compilation
You can configure these settings based on your need. If you are completely new to asp.net core, feel free to go with the default settings and click on the create button.
This will create a brand new asp.net core application.

Run the asp.net core mvc application using visual studio –
You can run the asp.net core application on following servers –
- IIS Express
- Kestrel server
Of course you can run the asp.net core application on other servers like IIS etc.
To choose the default server click on the arrow button placed near the green button in visual studio.
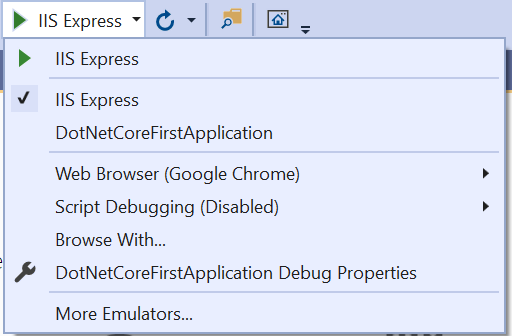
To run the asp.net core application click on the green arrow button or, Simply press f5 a button from your keyboard.
Create a dot net core application using command line interface (CLI)
So you have decided not to work with the Visual Studio. No worries dot net core is for everyone and you can use dotnet CLI to work with the asp.net core application.
Whatever you need in the asp.net core application, you can do everything using dotnet CLI. Let’s see how to use dotnet CLI –
- Open any command-line tool of your choice like command prompt, terminal, etc.
- Navigate to the folder where you want to save the project files.
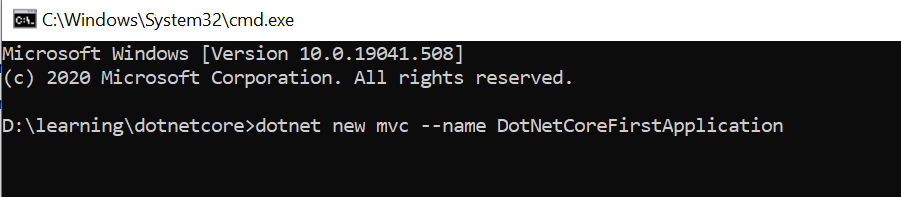
- Enter the following command in the command-line tool
dotnet new mvc --name DotNetCoreFirstApplication - Press the enter key from the keyboard.
Dot net core CLI will create the project file and will run the dotnet restore the command to download all the required packages.

- Navigate to the project solution by using
cd foldernamecommand.

- Use
dotnet buildthe command to built the application. - And to run the asp.net core application using dotnet CLI run the following command –
dotnet run

Now you asp.net core application is listening on following urls –
https://localhost:5001
&
https://localhost:5000
You can use these URLs to see your application running in the browser.