Convert console application to web application in asp.net core | WebHostBuilder in .net core
By default, each Asp.Net Core web application is a console application. By making some changes we can convert this console application to a web application.
Steps to convert a console application into web application
- Update SDK in
csprojfile - Remove output type from
csprojfile - Add new
WebHostBuilder - Enable routing
- Setup the default route
Let’s understand each step one by one. At this point, I assume you have a new dot net core console application.
Update SDK in csproj file
Let’s open the csproj file of our console application. To open the csproj file, you can use following methods –
- Go to the files of the solution and find the
.csprojfile. Click on this file and open it in an editor.

- In dot net core, you can open the project file directly from the visual studio without unloading the solution.
- Right-click on the name of the project in Visual Studio solution explorer.
- Choose
Edit Project File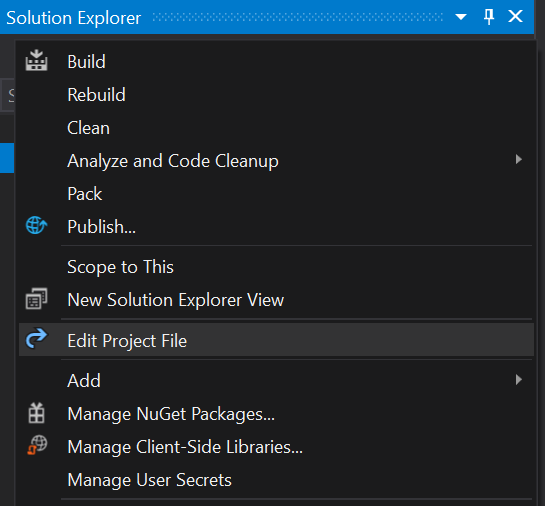
- In Visual Studio, double-click on the name of the project.
Using any one of the above-mentioned approaches you can open the csproj file in an editor.
Here is the code form csproj file of a console application –
<Project Sdk="Microsoft.NET.Sdk">
  <PropertyGroup>
    <OutputType>Exe</OutputType>
    <TargetFramework>netcoreapp3.1</TargetFramework>
  </PropertyGroup>
</Project>
In the first line of csproj the file, you will see the SDK. We need to update this to Microsoft.NET.Sdk.Web After changes, your file will look like this –
<Project Sdk="Microsoft.NET.Sdk.Web">
  <PropertyGroup>
    <OutputType>Exe</OutputType>
    <TargetFramework>netcoreapp3.1</TargetFramework>
  </PropertyGroup>
</Project>
Focus on the Dependencies folder in the solution explorer and save the changes by pressing ctrl + s . Following changes will take place the solution explorer –
- A new
Propertiesfolder having will be added at the root level of the solution. Analyzersare added under the Dependencies folder.- A new
Microsoft.AspNetCore.Appframework will be added under the Dependencies -> Frameworks
Remove output type from csproj file
If you will look closely at the startup file, inside the PropertyGroup there is a OutputType and this has Exe value.
To work with the web application, we can remove this OutputType completely. Now the .csproj file will look like below –
<Project Sdk="Microsoft.NET.Sdk.Web">
  <PropertyGroup>
    <TargetFramework>netcoreapp3.1</TargetFramework>
  </PropertyGroup>
</Project>
Add a new WebHostBuilder in asp.net core
Before adding the WebHostBuilder, let’s understand what is a host in asp.net core –
A Host is an object that encapsulates the resources of an application.
Example: Dependency Injection, Logging, Configuration, IHostedService implementation.
The Main method written in the Program.cs class is the entry point for any dot net core application. We can work on the host builder in the Program class.
Now create a new method to create the host builder and create & configure the default builder.
 public static IHostBuilder CreateHostBuilder(string[] args) =>
            Host.CreateDefaultBuilder(args)
                .ConfigureWebHostDefaults(webBuilder =>
                {

                });
Inside the ConfigureWebHostDefaults we need to configure the middlewares. For the best practice, we can create a new class with a name and call configure that Startup class here.
Create a new class in a new file with the name Startup.cs at the root level of the application. Now let’s use this class in ConfigureWebHostDefaults method.
using Microsoft.AspNetCore.Hosting;
using Microsoft.Extensions.Hosting;

public static IHostBuilder CreateHostBuilder(string[] args) =>
            Host.CreateDefaultBuilder(args)
                .ConfigureWebHostDefaults(webBuilder =>
                {
                    webBuilder.UseStartup<Startup>();
                });
Now, Let’s call this CreateHostBuilder the method, build it, and run from the Main method.
Update your Main method like below-
public static void Main(string[] args)
{
    CreateHostBuilder(args).Build().Run();
}
Lets make some changes in the startup class by adding two methods
using Microsoft.AspNetCore.Builder;
using Microsoft.AspNetCore.Hosting;
using Microsoft.Extensions.DependencyInjection;

namespace MyConsoleApplication
{
    public class Startup
    {
        public void ConfigureServices(IServiceCollection services)
        {

        }

        public void Configure(IApplicationBuilder app, IWebHostEnvironment env)
        {

        }
    }
}
Enable routing
In Asp.Net Core, We can enable routing by using UseRouting middleware.
Add the following code in the Configuration method of startup class.
public void Configure(IApplicationBuilder app, IWebHostEnvironment env)
{
    app.UseRouting()
}
Setup the default route in asp.net core application
We can set up the default route for asp.net core application using UseEndpoints middleware.
public void Configure(IApplicationBuilder app, IWebHostEnvironment env)
{
app.UseRouting();
app.UseEndpoints(endpoints =>
{
endpoints.MapGet("/", async context =>
{
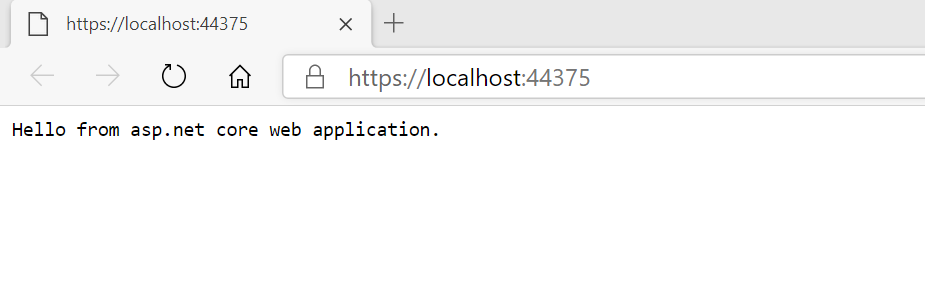
await context.Response.WriteAsync("Hello from asp.net core web application.");
});
});
}Save the changes, build the application and run the application. You will see the following message on your browser window.
Now you have a working web application and you can configure this based on the need like web API, MVC, razor pages, etc.